Create your Spark
The first time you open Manage My Spark, a short setup screen walks you through it.-
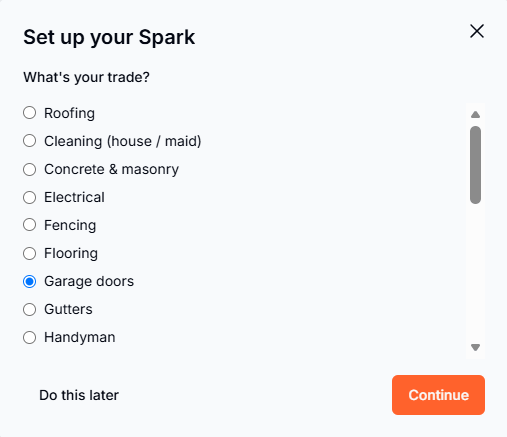
“What’s your trade?” Pick your trade. If you chose it when you signed up, it’s already selected.
-
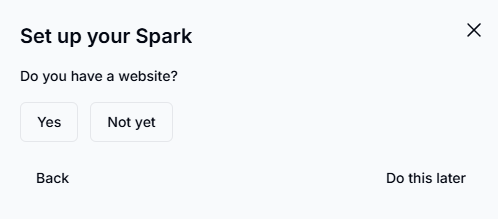
“Do you have a website?” If you do, enter it. “Just enter your website and we’ll pull in your logo, colors, and contact details.” No website? No problem. You’ll share your Spark with a link and QR code instead.
-
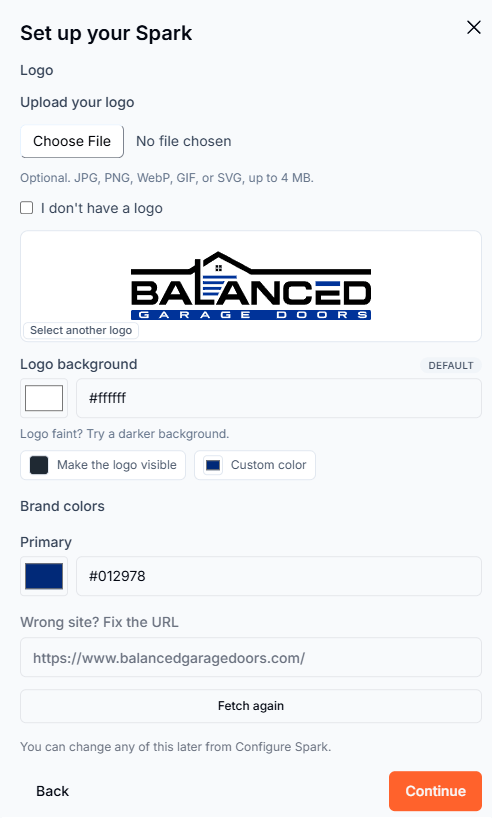
Logo and colors. Pick the logo and colors that fit your brand. You can change them later.
-
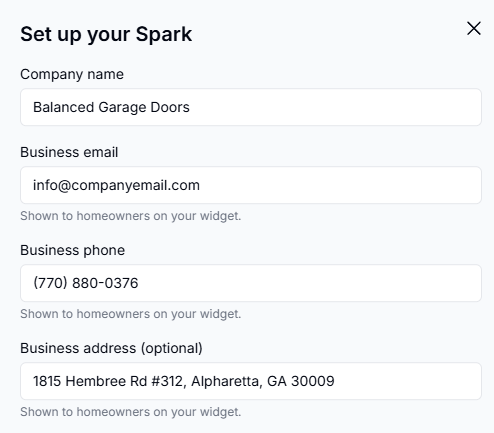
Business details. Check your business email, phone, and “Business address (optional)”. These are “Shown to homeowners on your widget.”
-
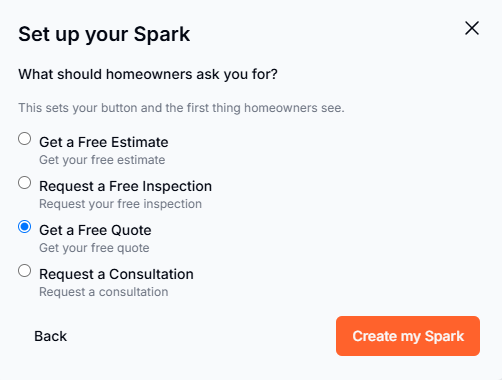
“What should homeowners ask you for?” “This sets your button and the first thing homeowners see.” Choose “A free estimate”, “A free inspection”, “A free quote”, or “A consultation”.
-
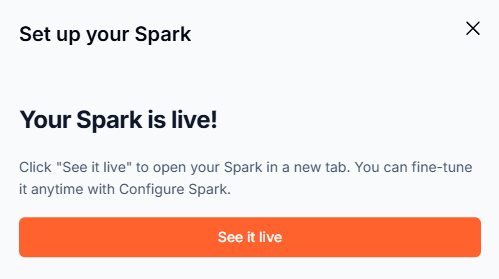
Create your Spark. When it’s ready, you’ll see “Your Spark is live!” Click See it live to open it in a new tab.
Customize your Spark
From Manage My Spark, click Configure Spark. Your Spark has three tabs: Branding, Website Button, and Publish.Branding
Update your logo, colors, and the details homeowners see. The Advanced section at the bottom of the tab has more color options, including the background for your hosted page.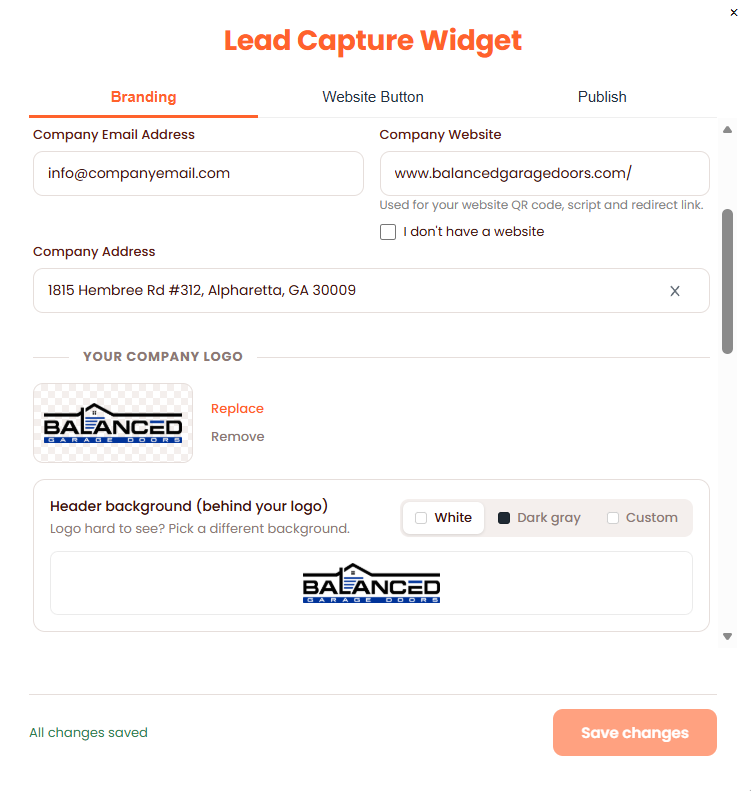
Homeowner questions
At the bottom of the Branding tab, open Advanced. Under Request Questions, choose your Industry to load ready-made questions and answers for your trade. Expand the questions to edit any question or answer, or reset them back to the industry default.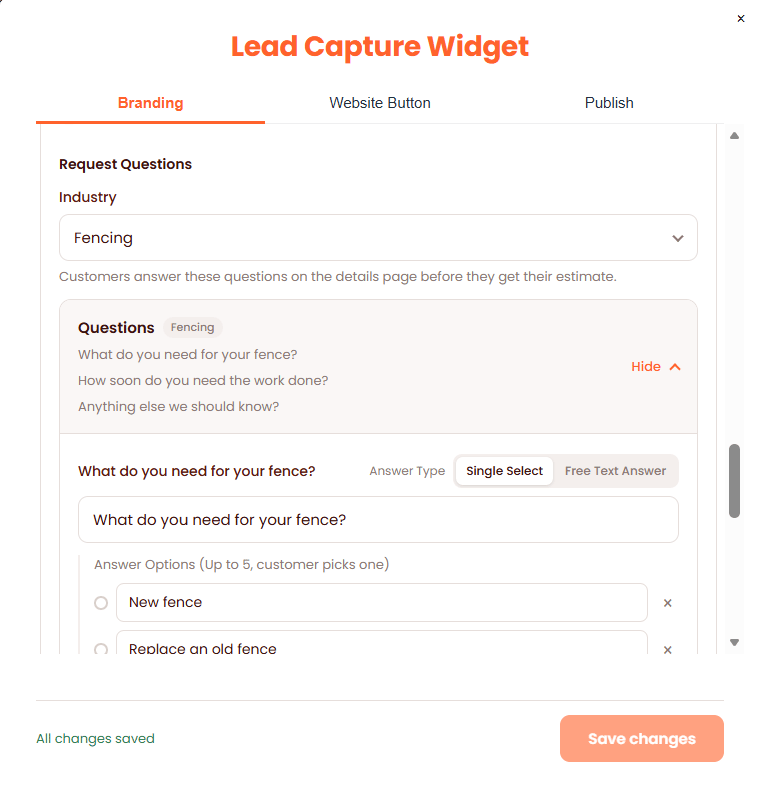
Website Button
Choose how the button on your website looks.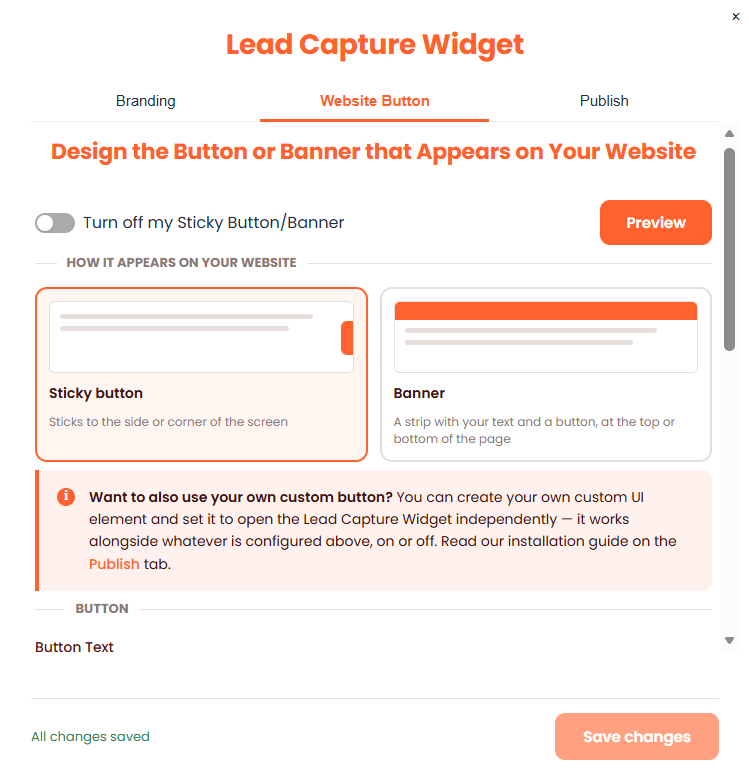
Publish
Your script, hosted page link, and QR code live here.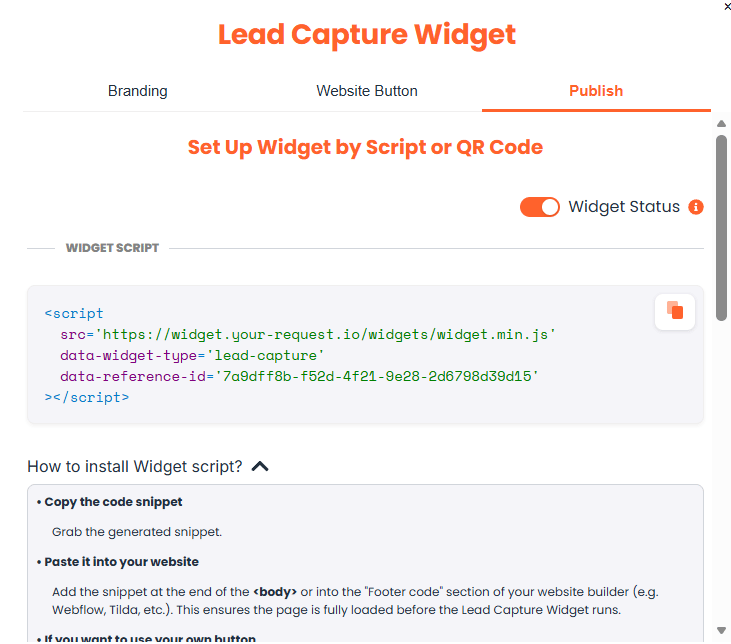
Install on your website
Copy the script from the Publish tab and paste it into your site, just before the closing</body> tag. If you have a website, we’ll also email you the install instructions when your Spark goes live. You can resend them anytime from Manage My Spark.
Use your own button
To open your Spark from your own button or link, use this function:lead-capture-open class to any element. You can use the same class on as many elements as you like.
No website? Use your hosted page
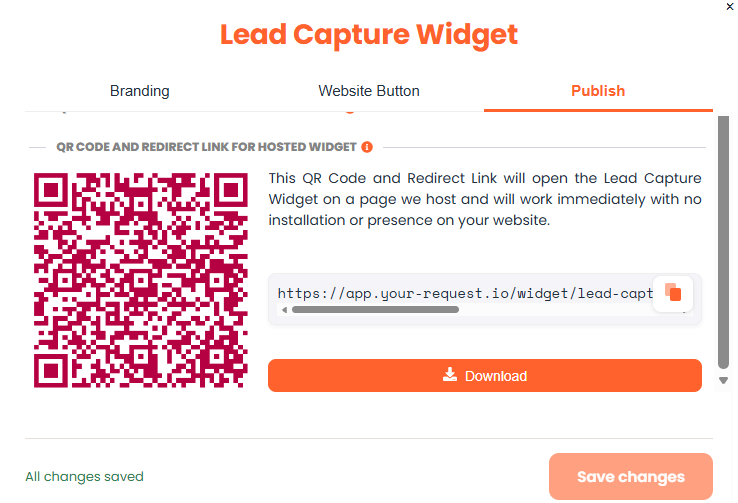
Every Lead Capture Spark has its own hosted page onapp.your-request.io. Share the link from the Publish tab on social media, or print the QR code on your truck, yard signs, or door hangers. Homeowners who scan it land right on your Spark.